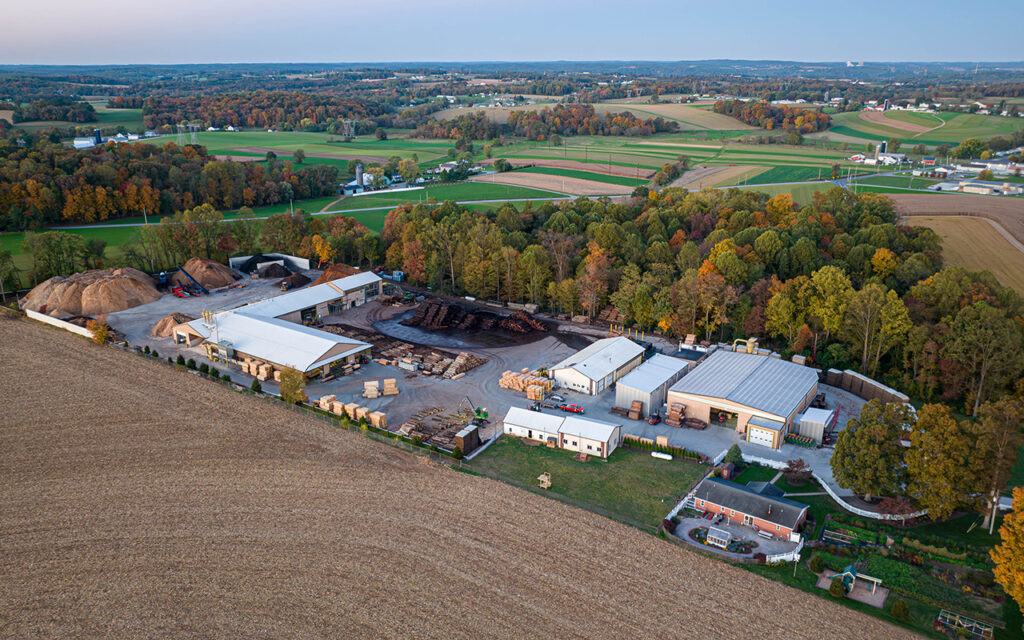
If you’ve ever visited a sawmill, you’re familiar with sounds so loud that it’s hard to think.
You’ve felt the catwalk shake beneath you with the rumble of machines.
You’ve breathed the distinctive smell of poplar as the bandsaw opens up a log.
As a wood products business, we interact with people who have different levels of knowledge about how wood is processed. Some don’t know much about our industry—they just have timber they want to sell. Others have been making sawdust since childhood.
In recent months, we’ve explained our timber harvesting process. Today, we’re taking you on a tour of our mill. Unfortunately, in a written article, we can’t give you the full sound-and-smell experience, but we’ll do our best to make you feel like you are there.
If this is your first time inside an operating mill, we think you’ll find it interesting. If this is familiar territory, we hope you enjoy it just as much. After all these years, we still find it fascinating.
Arrival and unloading
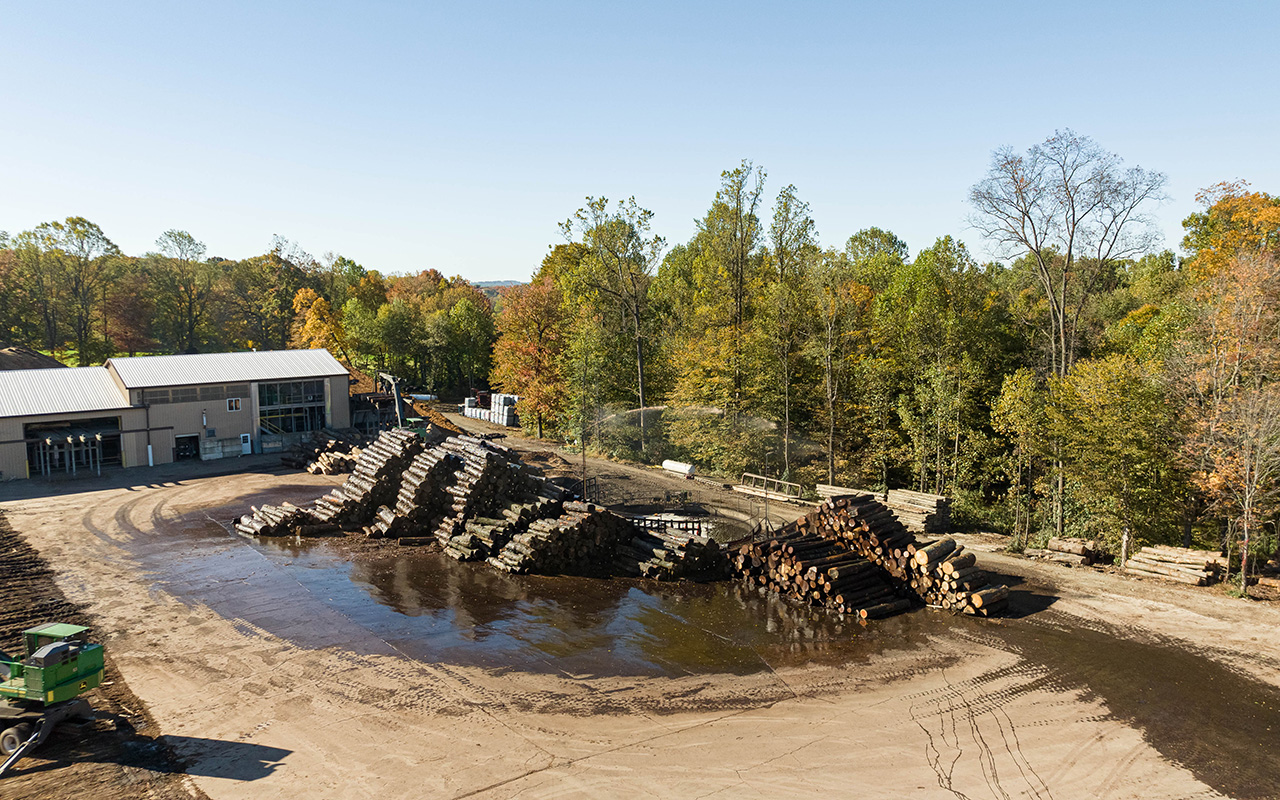
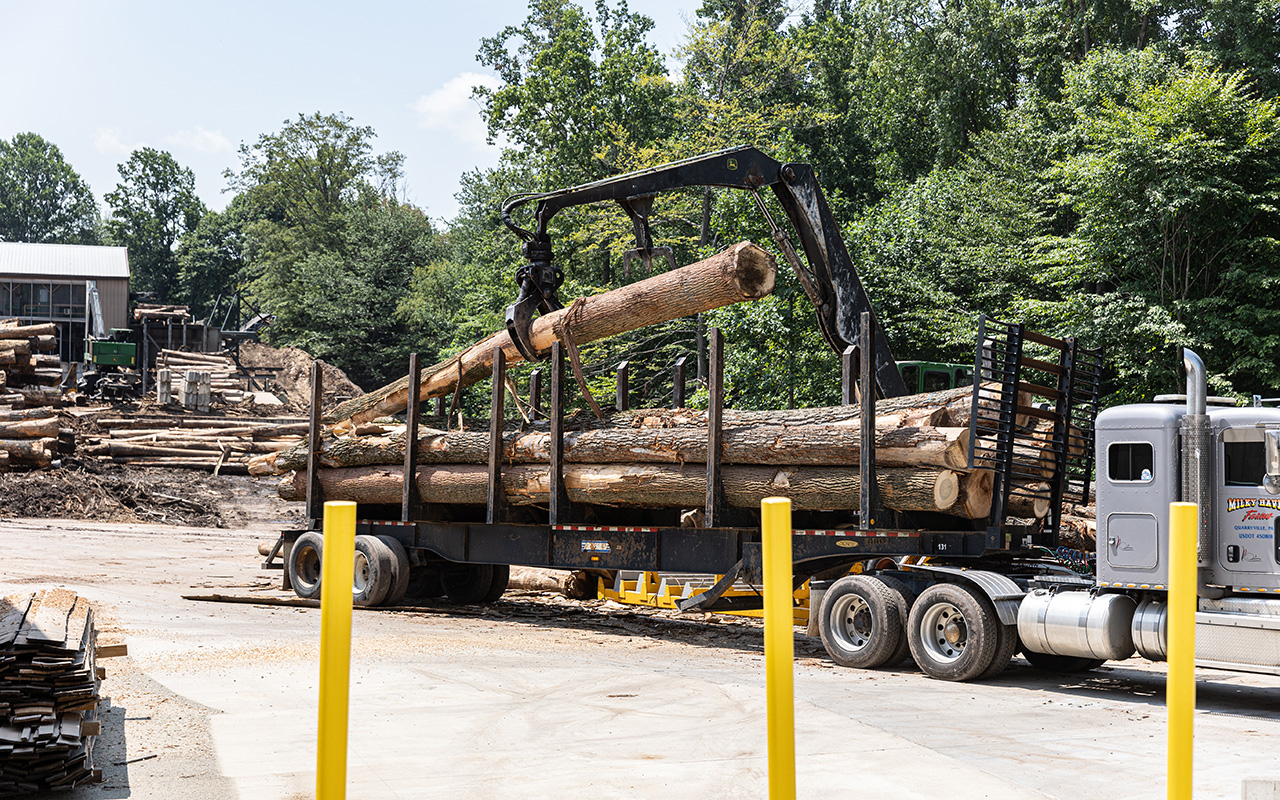
On average, we get 12 semi-trailers of logs daily, so there’s a lot of loading and unloading. But our knuckleboom swing loader makes quick work of this, as it can pick up tree-length logs like they were toothpicks.
Once we’ve unloaded the logs, we cut them to length. After that, we stack them by species until we are ready to mill them. In the summer, we use sprinklers to keep them wet so they do not start to dry and check before they are milled.
Preparation
For efficiency, we mill one type of wood at a time. Today we are milling tulip poplar, one of our most common species. Our tour will follow some poplar logs on their journey through our two-story mill.
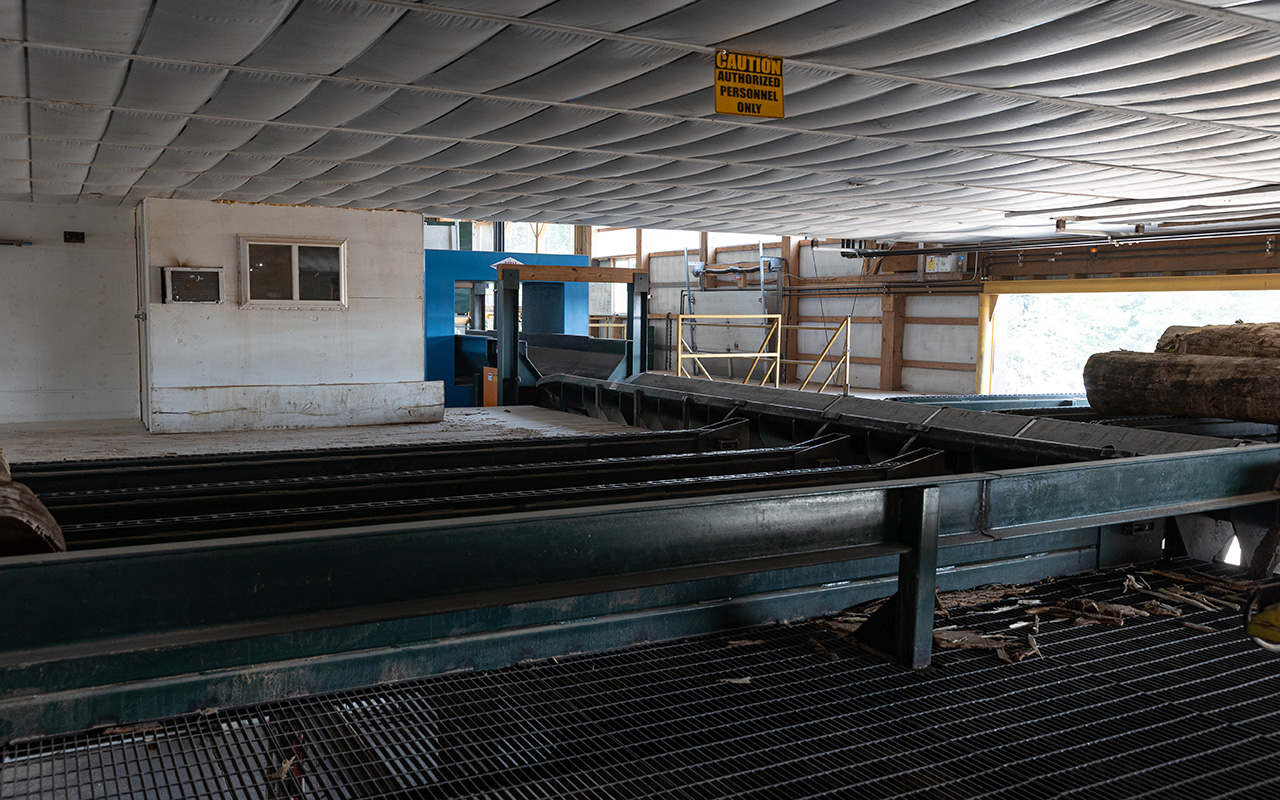
The milling process begins when our swing loader lifts the logs up to the second floor of our mill. From there, they will begin the journey through the conveyor system. Along the way, the logs will move from the upper right of the building to the lower left.
In the first stage, logs go through a machine that removes both the bark and any high points or edges. This process helps get each log to something of a consistent diameter, making the upcoming cutting process more efficient.
After this step, the logs pass through a metal detector—we don’t want our saw blades hitting nails or embedded fence posts. If the detector senses metal in a log, that log is automatically sent in a different direction than the rest. We’ll still use that log, but what we do with it will depend on the species.
If we find metal in a lower-value species, we will run that log through our tub grinder and turn it into mulch. But for top-dollar trees (like walnut and white oak), it’s cost-effective to mill them by hand. We take them over to our WoodMizer portable sawmill and slowly work our way through them. Our handheld metal detector helps pinpoint the object so we can get as many boards as possible without ruining a blade.
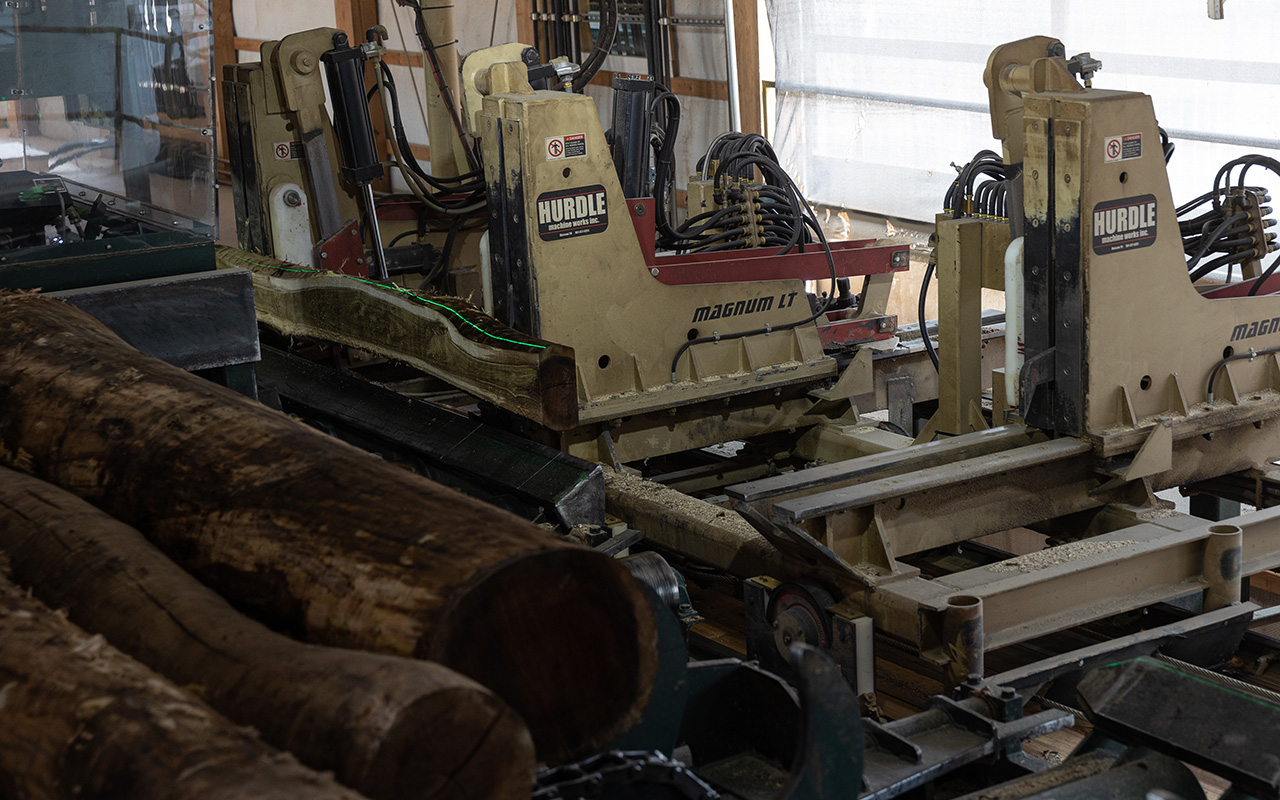
Thankfully, most logs pass safely through the metal detector and move toward the headsaw, where the cutting begins.
Cutting
With its 12” wide blade, our headsaw makes the first cuts in our logs. One at a time, logs are held and positioned on a large, track-mounted carriage. Using joysticks like those on a skid steer, the operator moves the logs through the blade.
Though the mill is extremely loud, the operator sits in relative quiet inside an enclosed “cab,” which is actually a small room with large windows. From here, he positions the log for each new cut, rotating and adjusting it for the next pass. A green laser is projected on the log, showing where the blade will cut it as the carriage moves forward. Once the log touches the blade, the cut is over almost as quickly as it began.
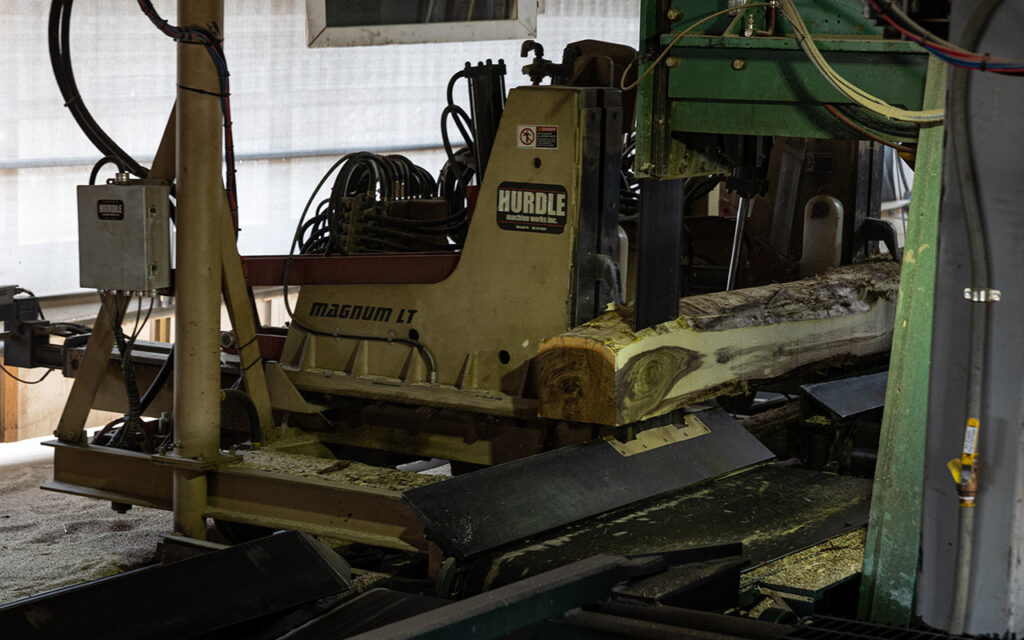
These first cuts remove the outer layer of the wood, with each cut making the log a little more square. The log can be turned as needed to cut each side. All the cut-off, unusable wood moves down a slide and falls into a first-floor conveyor, which takes it out to be processed into mulch.
Usable boards created by the headsaw are sent in one of three directions, but all will end up together again on their way to the trimmer.
- Some are good enough to go directly to the trimmer
- Some need to go through the edger before going to the trimmer
- Some are sent to the resaw before heading to the trimmer
Automation helps squeeze as many usable boards out of a log. No two logs yield the same amount and size of boards. Each log is cut in a way that produces the least waste.
End trimming and grading
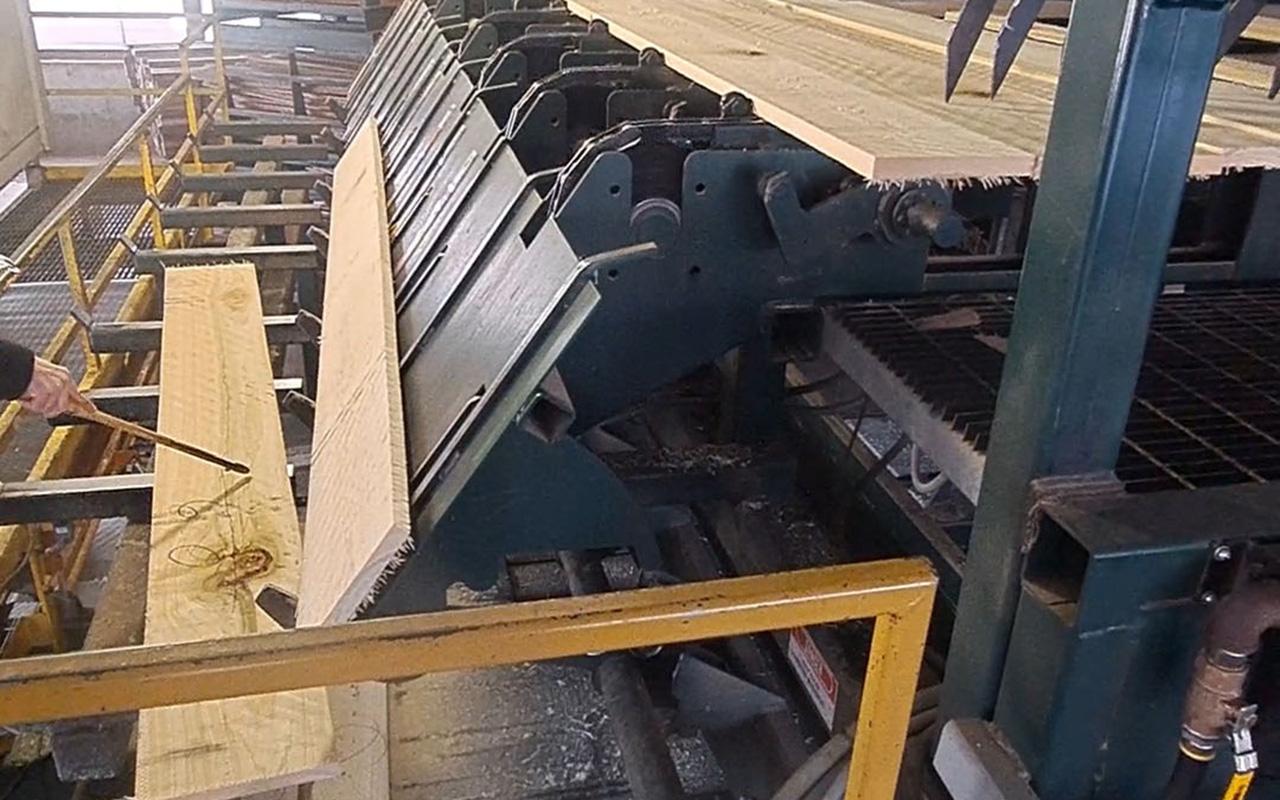
At the upper left of the building, a conveyor is continuously supplied with boards that have been cut and edged. This conveyor brings the boards into the trimmer, which gives them a nice, smooth finish. As they leave the trimmer, boards are automatically separated into two categories—larger beams that don’t need grading, and boards that need to be graded by hand.
As the boards exit the trimmer, those which do not need to be graded are sent directly down a slide to the first floor of the mill, where they are stacked on carts and bundled. The rest of the boards are manually graded and marked with a pencil, with different symbols indicating various levels of quality. The number of grades depends on the species of wood—poplar has 4, while walnut has 6 to 8 and white oak has 8 to 10.
Stacking
As the boards are coming down from being graded, several workers stand by to place them on lumber carts and send them out for drying.
Conclusion
Well, that’s the end of our guided tour. Things move pretty quickly in here, and it can be a bit confusing when you first step inside. But over the years, we’ve made many upgrades to make things run smoothly.
Stay tuned for a future article, where we’ll talk about our drying room and kiln.
For now, if you have any questions about our mill or our products, be sure to call!
